
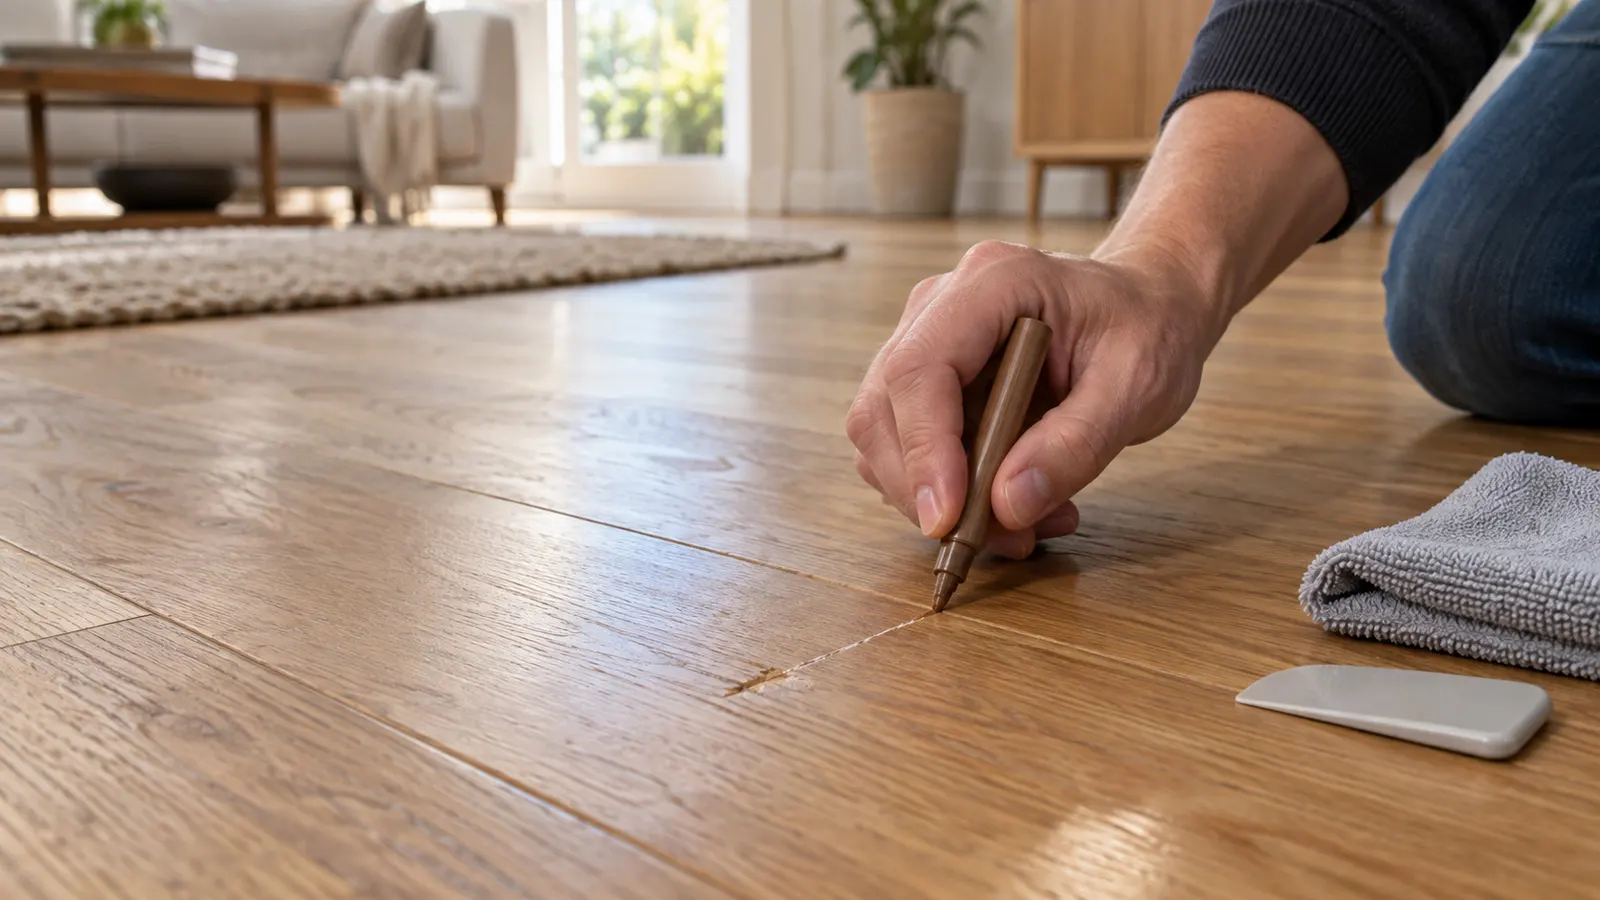
When it comes to wooden floor fixing, scratches are among the most common problems homeowners face, but they do not all need the same repair. The first step is not choosing a marker, wax, or filler, but working out what the mark has actually damaged.
In many cases, a small scratch can be made far less noticeable without sanding the whole room. Clean the area, inspect it in good light, identify the floor and finish as far as you can, then test the least aggressive repair in an inconspicuous place. That simple order of operations prevents a common mistake in wood floor scratch repair: making a small, repairable mark larger with the wrong product or too much sanding.
Start with the floor and the damage
Not every dark or white line is a cut in the wood. Dirt, rubber transfer, a furniture mark, or a worn patch of finish can look like a scratch until the area is cleaned. A light scratch may only disturb the coating, while a deeper one can expose lighter wood, leave a sharp edge, or remove a small piece of the board.
There is also a useful difference between the floor’s construction and its finish. Solid hardwood is made from wood through the thickness of the board, while engineered hardwood has a real-wood top layer over other layers. Site-finished floors and factory-finished floors can also behave differently during spot repairs. If you can see pronounced bevels between factory-finished boards, or you do not know what finish was used, be conservative and follow the flooring manufacturer’s care instructions before trying to sand or recoat anything.
Use the following as a practical guide rather than a rigid depth test. The point is to match the response to the problem and stop before a cosmetic repair turns into a larger finish or board-repair job.
| What you can see | Sensible first response | Where DIY should stop |
|---|---|---|
| Scuff or transfer mark | Clean with a cleaner compatible with the floor’s finish | The mark remains because the finish or wood is cut |
| Fine surface scratch | Test a color-matched floor touch-up product | The repair changes the sheen or the scratch catches on the surface |
| Scratch showing lighter wood | Use a compatible floor filler, wax, or repair system, depending on the defect | The area is deep, splintered, or difficult to color-match |
| Small gouge or missing material | Consider a localized filler or hard-wax repair system | The board is unstable, cracked, warped, or damaged by moisture |
| Scratches across a large area | Ask whether a recoat or refinishing assessment is more appropriate | The finish is worn through in many places or bare wood is widely exposed |
Repair light scratches without sanding the whole floor
Start by removing dust and grit with a soft broom, a vacuum set for bare floors, or a clean microfiber cloth. Use a wood-floor cleaner suited to the existing finish and allow the area to dry. The National Wood Flooring Association’s maintenance guidance is a useful reference for finish-compatible cleaning and for avoiding cleaning habits that leave a wood floor excessively wet.
Once the surface is clean, look at the scratch from several angles. A mark that appears only when light reflects across the floor may be shallow, while a line that stays pale after cleaning may have exposed the wood below the finish. You do not need a perfect diagnosis before testing, but you do need to know whether you are trying to restore color or replace missing material.
For a light surface mark, choose a product made for flooring or specifically described as suitable for the type of wood finish you have. Test it on a hidden section or spare board first. Hardwood rarely has one perfectly uniform color, so the closest-looking marker in the package may still be too dark, too red, too yellow, too glossy, or too dull once it is on the floor.
Apply a small amount inside the line and work with the grain where the product allows it. Several light passes are easier to control than one heavy application, especially with a marker or touch-up pen. Remove excess from the surrounding finish, let the repair dry as directed, and then inspect it under the room’s normal lighting before adding anything else.
If the surface is intact and the problem is mainly a visible color line or scuff, the Rejuvenate Exact Match Wood Furniture & Floor Repair Markers 6-Pack is one suitable type of product to consider. Its role is to restore or blend color on a small mark. It will not replace a chip, fill a hole, or rebuild a gouge, so do not keep adding marker when the defect is clearly deeper than the finish.
The goal of this kind of hardwood floor scratch repair is not to make the damaged fibers disappear under any light. It is to reduce the contrast between the mark and the surrounding floor while leaving the existing finish as undisturbed as possible. If the first pass leaves a shiny patch or a darker stripe, stop and reassess the product rather than covering the whole area.
Repair scratches that expose the wood
When a scratch remains light-colored after cleaning or leaves a slight edge that catches on a fingernail, it may have gone through the protective finish. A color marker can make the line less obvious, but color alone cannot fill the depression or protect the exposed area. This is where a floor repair filler, putty, hard wax, or another repair system may make more sense, provided it is compatible with the floor and the finish that will be applied afterward.
Clean and dry the defect before applying anything. Keep the repair material inside the damaged area and use only enough to bring the surface close to level. A plastic tool is generally less likely to scratch the surrounding finish than a metal edge, but the product’s own instructions should control the application, leveling, drying, and finishing steps.
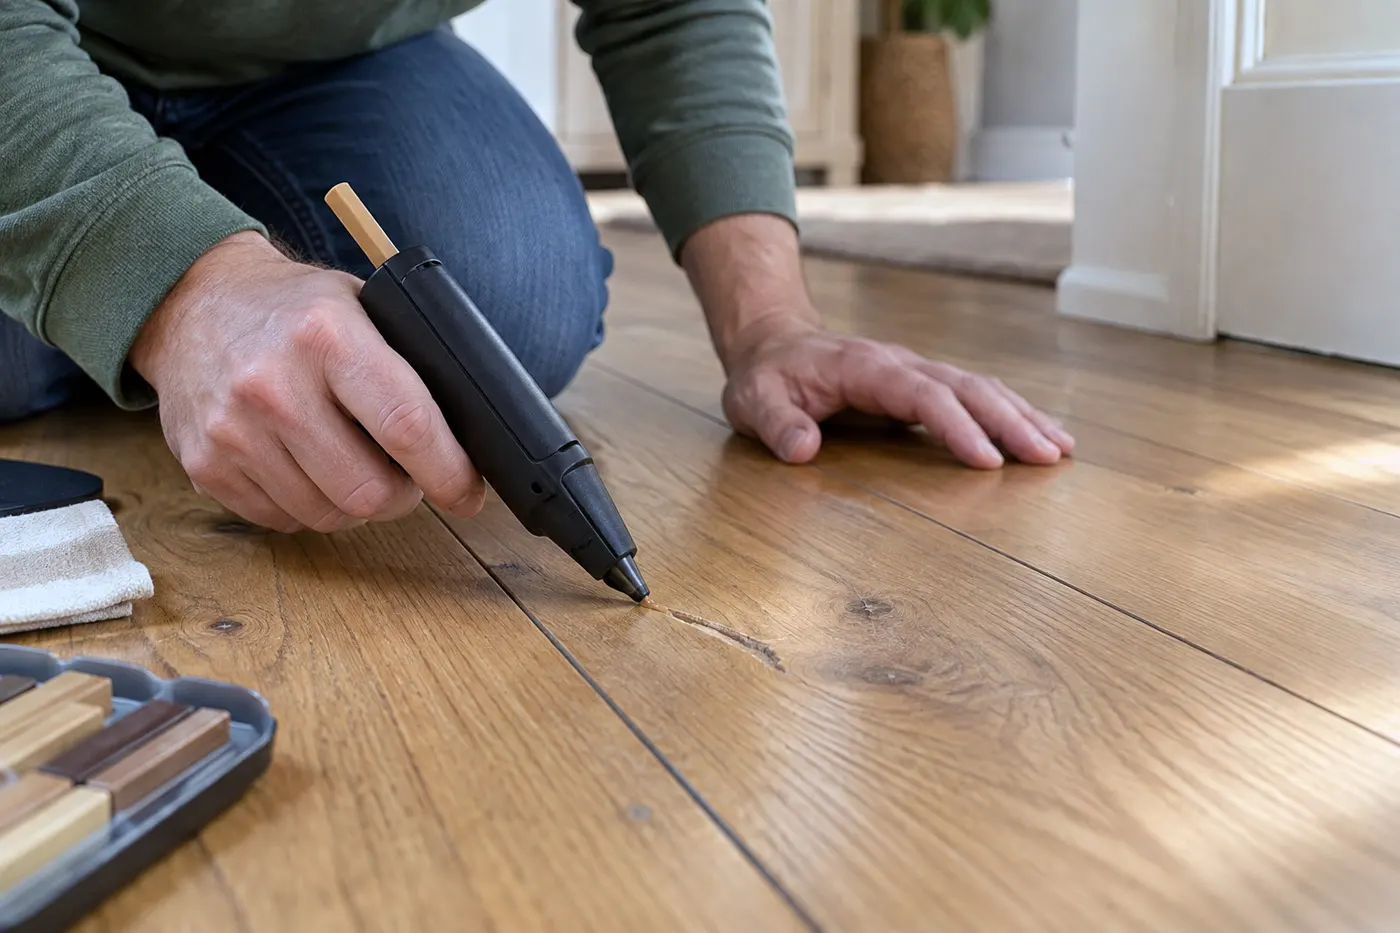
For a small, localized scratch that exposes lighter wood or includes a small amount of missing material, the CalFlor FloorFix Mix2Match Hardwood & Laminate Repair Kit is one existing option in the floor-repair category. It is intended for a repair that needs more than color alone, using a filler-and-color approach with tools for blending the result. Test the color and sheen first, and do not treat the kit as a solution for a moving board, swelling, water damage, or a structural problem.
Filler can look acceptable in one light and obvious in another, especially on open-grained wood or a floor with a transparent finish. After the material has cured, check the repaired area from different angles and compare its sheen with the surrounding boards. If a final coating is needed, use only one that the instructions identify as compatible with the existing finish; an otherwise good color match can be spoiled by a visible glossy or dull halo.
Know when the problem is larger than a scratch
Deep scratches and gouges are different from surface abrasions because wood fibers may be compressed, torn, or missing. A localized defect can sometimes be improved with a suitable filler or hard-wax system, but filler does not restore the strength of a damaged board and it may remain visible where the surrounding grain is prominent. Follow the exact repair sequence for the product you choose, including any instructions about leveling, curing, and finishing.
Avoid aggressive sanding as a first reaction. Sanding can remove the surrounding finish as well as the scratch, which may leave a larger patch that no longer matches the rest of the room. If many deep scratches are present, or if the finish is worn through over a broad area, the more appropriate question may be whether the floor needs a maintenance coat, a screen-and-recoat treatment, or full refinishing. The NWFA refinishing guidance explains why the right choice depends on the floor’s construction, condition, wear layer, and the amount of material that can safely be removed.
Engineered hardwood deserves particular caution. Its top wood layer varies in thickness, so some floors can tolerate limited refinishing while others should not be sanded in the same way as solid hardwood. Check the manufacturer’s instructions and the condition of the wear layer before sanding; for an older floor or an unknown product, a professional assessment is usually safer than guessing.
Replacement is also a separate option when one board is cracked, unstable, badly gouged, or damaged by moisture. A replacement board has to fit the installation system, dimensions, wood species, grain, and finish, so a single-board repair is not simply a deeper version of scratch touch-up. Get professional help when the board moves, the floor is cupping or warping, there is rot or water damage, splinters are loose, or the damage extends into the subfloor.
Replacement is also a separate option when one board is cracked, unstable, badly gouged, or damaged by moisture. For that situation, see our guide to repairing or replacing damaged hardwood floorboards before attempting to remove the board. A replacement board has to fit the installation system, dimensions, wood species, grain, and finish, so a single-board repair is not simply a deeper version of scratch touch-up. Get professional help when the board moves, the floor is cupping or warping, there is rot or water damage, splinters are loose, or the damage extends into the subfloor.
Avoid repairs that create a bigger problem
Popular home remedies can sound attractive because they promise a quick way to get scratches out of wood floors. The difficulty is that hardwood floors do not all have the same finish, sheen, or maintenance history. Oil, vinegar, wax, polish, and household abrasives can leave residue, alter the appearance of the finish, or interfere with a later repair, so none of them should be treated as a universal method.
Do not saturate the damaged area with water or use a steam mop as a scratch treatment. Do not start with coarse sandpaper, steel wool, or a metal scraper unless the floor and the repair instructions specifically call for that method. Do not apply a dark stain, marker, or filler over a visible area before testing it somewhere hidden, and do not use a cosmetic patch to conceal cupping, movement, swelling, rot, or another moisture-related problem.
The safest general rule is simple: clean first, test second, use the least aggressive repair that matches the damage, and stop when the problem no longer looks purely cosmetic. That approach is slower than grabbing the first household remedy, but it is much easier to control.
Prevent new scratches after the repair
Once the mark is improved, prevention matters more than repeated touch-ups. Grit carried into the room acts like an abrasive under shoes, furniture, and pet claws, while dragging a chair or cabinet can cut through a finish that looked sound a moment earlier.
Use felt pads under furniture legs and replace them when they collect dirt. Lift furniture instead of dragging it, place mats at entrances, vacuum with a bare-floor setting or soft attachment, and clean spills promptly according to the finish manufacturer’s instructions. If dog scratches are a recurring problem, keep nails trimmed and look for the specific route or piece of furniture that is creating the repeated contact.
Frequently asked questions
Can you fix scratches on hardwood floors without sanding?
How do you remove scratches from hardwood floors?
Can wood filler fix a deep scratch?
How do you repair dog scratches on a wood floor?
Do hardwood floor repair kits remove scratches completely?
Start with the least aggressive method that fits the damage. Clean the floor, test the color and finish in a hidden place, and move to filler, refinishing, or board repair only when the scratch itself requires it. For markers, fillers, wax systems, and other options, see the Floor Repair Kits category, then choose according to the exact floor type and repair problem.